
It has happened to all of us. You are ready to get in your car and speed off to work because you are already late and when you turn the ignition, nothing happens. Your immediate thought is that your battery is dead.
In some cases, it might very well be the battery, but in others, the problem might be a bit more severe like a worn out starter. When people hear that the starter might have gone, they immediately think that the car needs to go to the mechanic. Luckily, changing a starter is relatively easy and you can do it yourself.
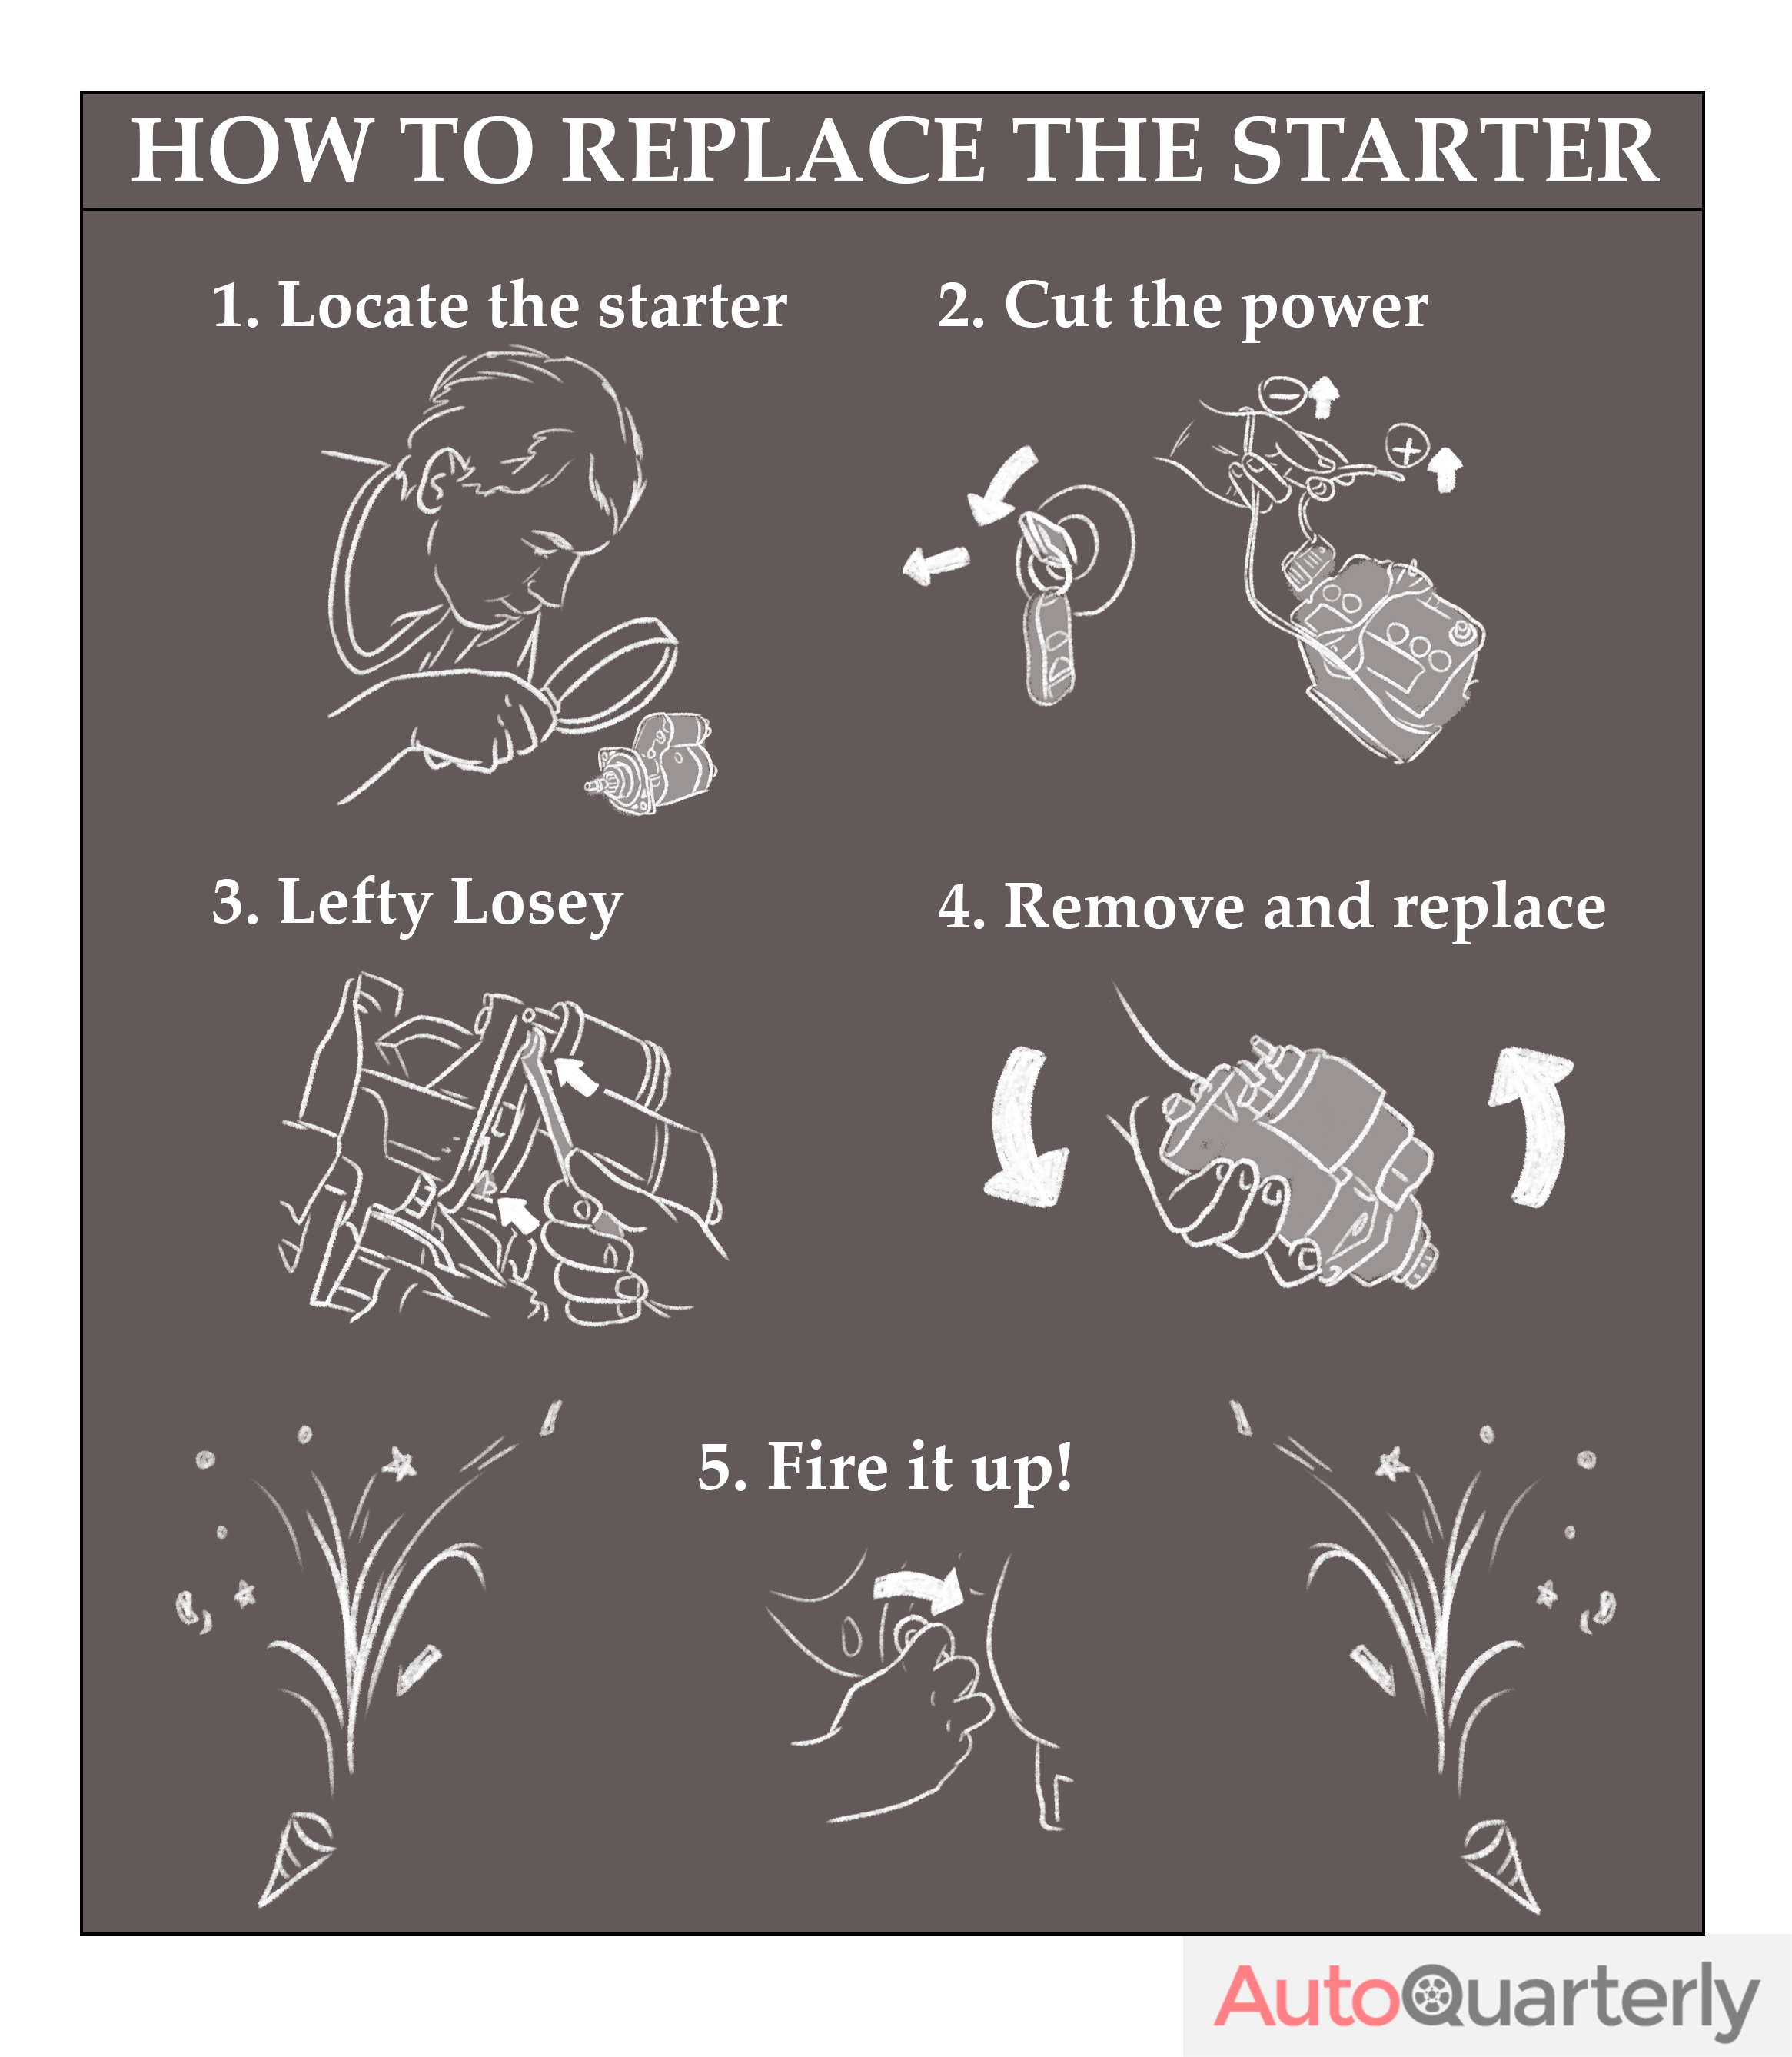
1. Locate the starter
For most of us, navigating a car’s engine is a daunting task and we don’t necessarily know what to look for. The starter is usually located beneath, or to the side of an engine. It is a cylindrical device with a smaller cylinder attached to it and your best bet to spot it is to look for the cables that connect it to the battery as well as the fuse box. If all else fails and you can’t locate the starter, refer back to the service manual of your car. There you will find detailed illustrations of your car’s engine.
To save yourself the frustration of trying to work from above, jack your car up on the side where the starter is located. Ensure that your vehicle is on a level surface so that it is stable. Once your car is at the appropriate height, place jack stands underneath the car for extra support and stability.
2. Cut the power
The first thing you want to do when replacing a starter is to turn the ignition off and disconnect the negative battery cable from the battery. The starter might not be working, but the electrical current still wants to flow. If you touch a live wire, you could be in for a shocking experience.
Next, you want to remove the positive cable from the starter. In doing so, you disable any current that could harm you.
3. Lefty Losey
Once you have disconnected the power, it is time to start loosening the bolts. By using a ratchet, loosen all the bolts that connect the starter to the block. Be sure to put the bolts in a specific area. You will thank yourself later when you need to reassemble everything again if you grouped all the nuts and bolts separately.
Next, you need to remove the supporting brackets that hold the starter in place. The same rule applies concerning the bolts. Keep them separate.
Now you need to remove the bolts that hold the starter. If some of the bolts are really tight, you should not try and force it to lose. Instead, spay it with a lubricant to grease it up.
4. Remove and replace
From here on out the job becomes relatively easy. Now you are able to remove the old starter from the car and replace it with the new one.
Mount the new starter to the block and fasten it with the correct bolts. Be careful not to tighten the bolts just yet. Rather, connect the battery cable while there is still some room to maneuver. It is always easier to disconnect a cable than to reconnect it.
Once the cable has been reconnected it is time to attach the support bracket as well. You will now also notice that the working space has decreased and that it is a bit harder to get to all the bolts.
Once the starter is reconnected to the block and the supporting bracket is also intact, it should be safe to reconnect the negative cable to the battery again.
5. Fire it up
All that is left to do is to revel in your handiwork as you turn the ignition and hear the purr of your engine.